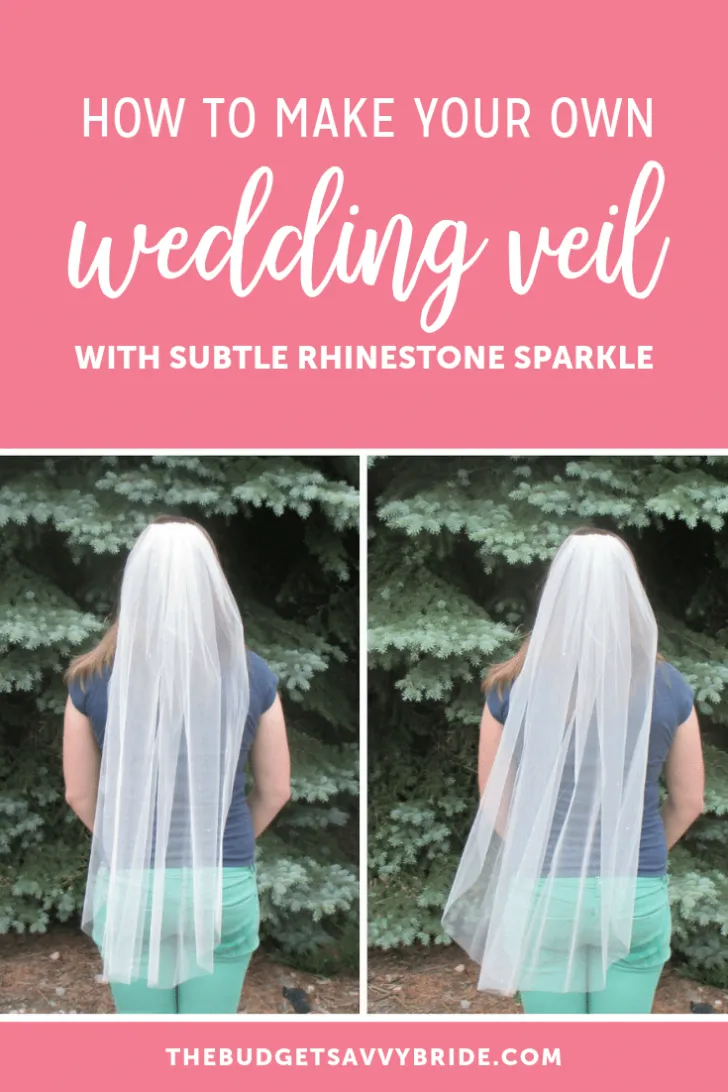
DIY Rhinestone Wedding Veil
Learn how to make your own wedding veil for your big day. DIY wedding veils can save you money and look fabulous!
When I first started out planning my big day, I had decided that I didn’t want to wear a veil at all. However, this changed when, while trying on my dress, the consultant placed a gorgeous veil sprinkled with rhinestones on my head. I loved it! Sadly, I didn’t love the $90 price tag. Let’s look at it this way: a veil is something you’ll literally only wear once. It’s not worth a splurge!
Since I would only be wearing it during the ceremony, I decided why not do a DIY! I got all the materials for about $20 which is a steal in my opinion. If you’re similarly disgusted with the cost of wedding veils, this tutorial is for you! Check out how I made my gorgeous and budget savvy DIY wedding veil below.
How to Make a DIY Rhinestone Wedding Veil
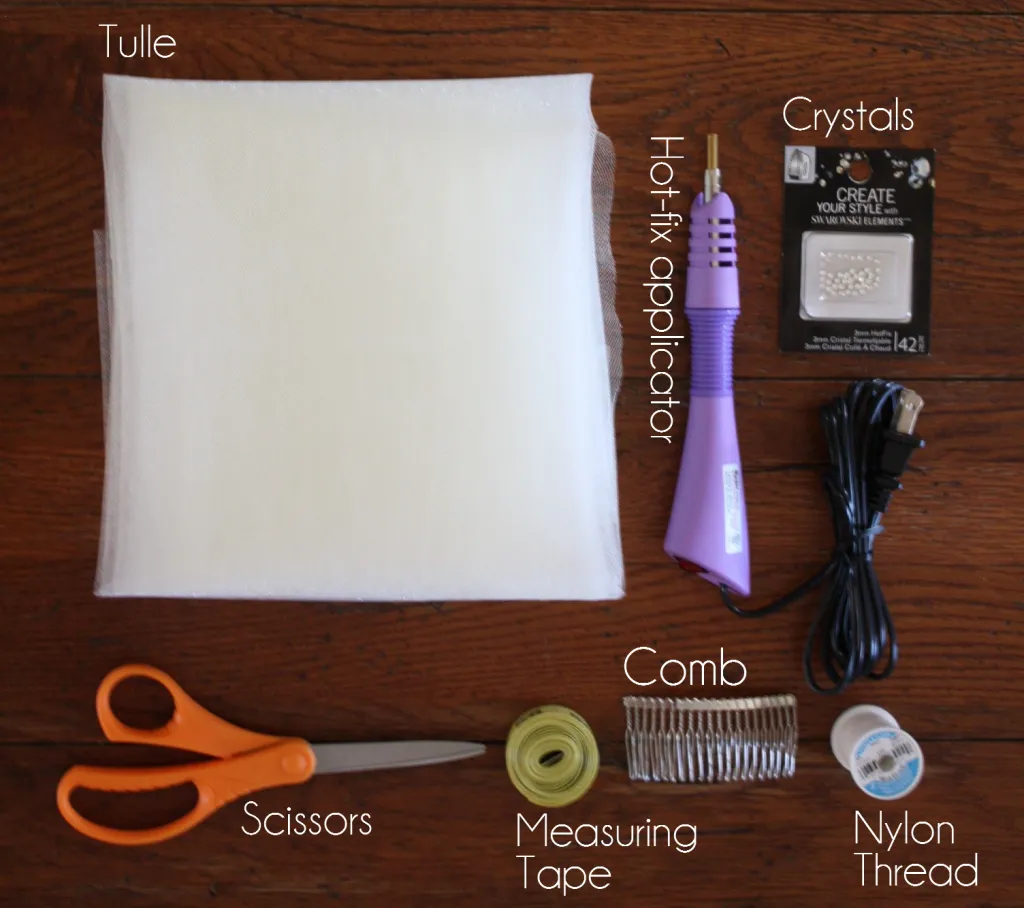
What you’ll need:

Before You Begin:
- I bought my tulle 54″ wide because I want it wispier. However, if you want a poofier veil, buy 108″ wide.
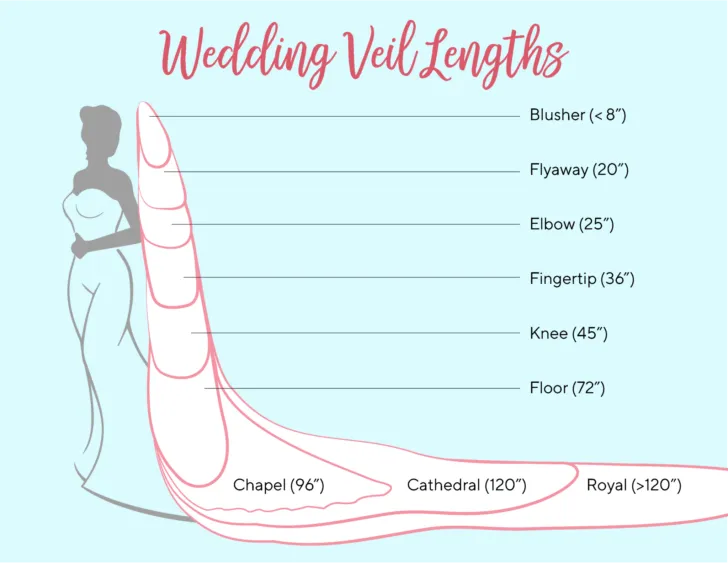
- Make any necessary measurements and jot them down. You could easily make this any length, but this tutorial is for a fingertip-length veil around 36″long.
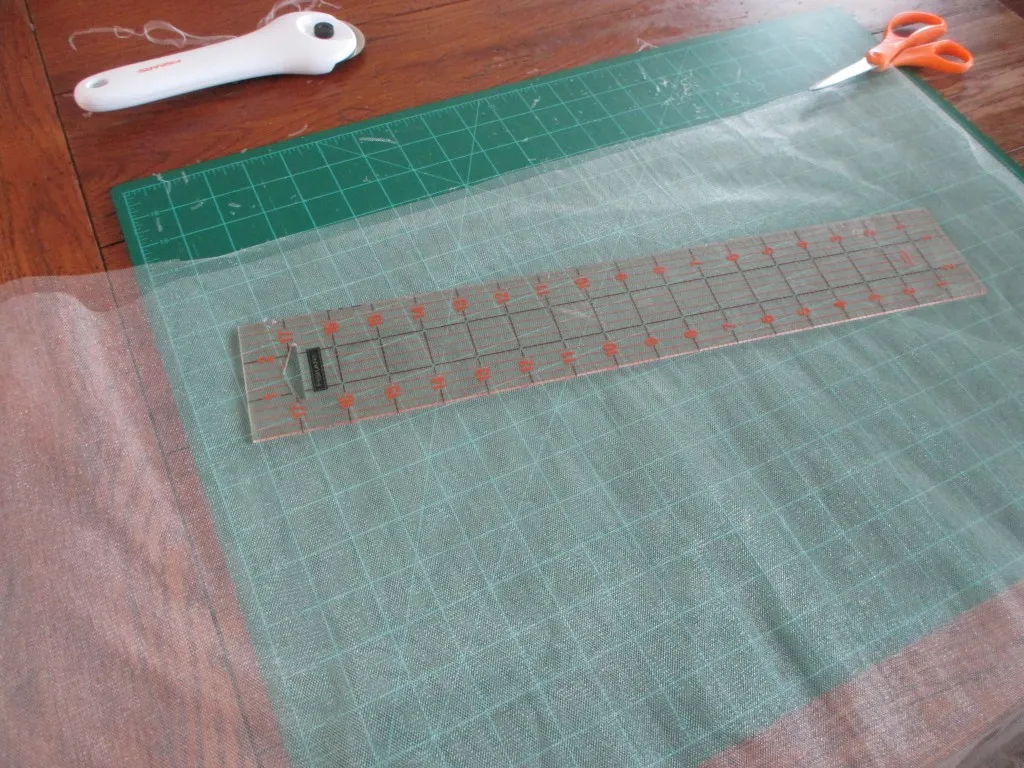
1. Cut tulle to the desired length if needed.
I cut mine to about 36″. However, cut it to your measurements. I’d leave a little extra just in case. It’s easy to trim off a little extra if needed, but not easy to put it back! I would recommend using a pair of sewing scissors or a rotary cutter.
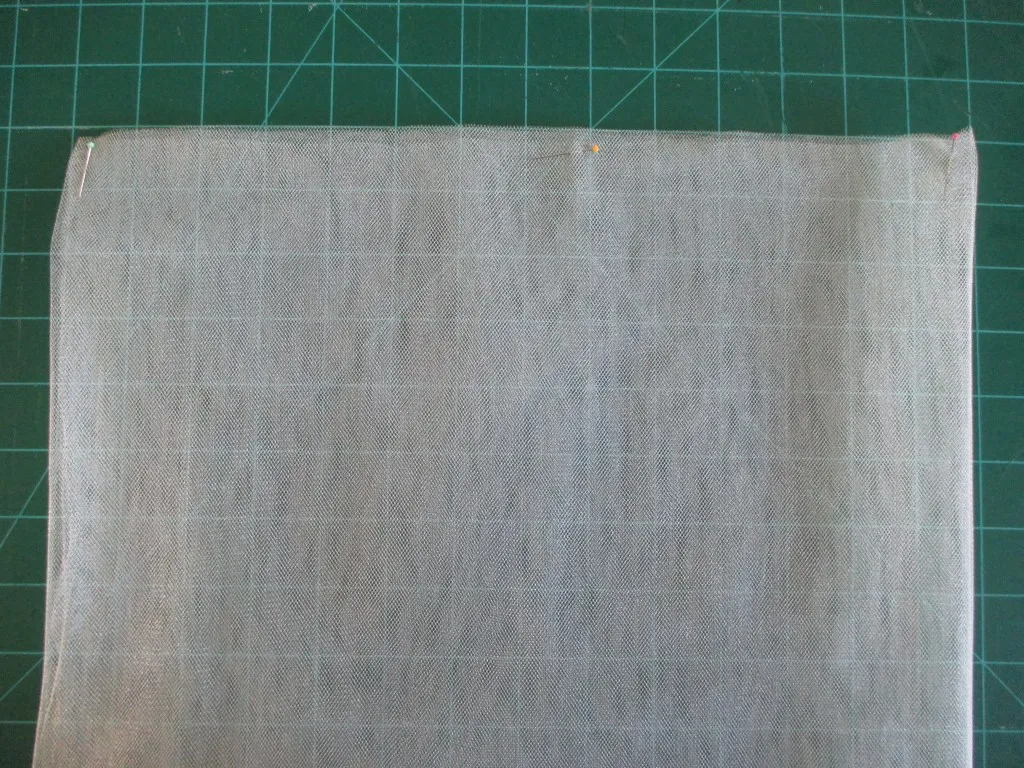
2. Fold the veil in half lengthwise or hot dog style.
3. Pin the top and sides to prevent any slippage, making sure everything is even.
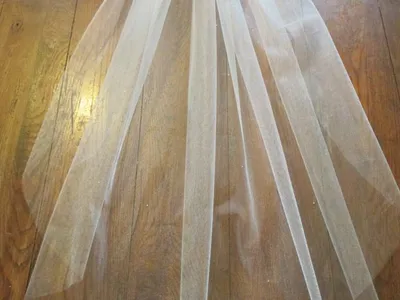
4. Trace out the desired shape at the bottom.
I googled pictures of veils for inspiration. I also got my mom to help because its harder than you think to get a good shape. This where it also helps to have some extra length, because it took a few tries to get the perfect shape.
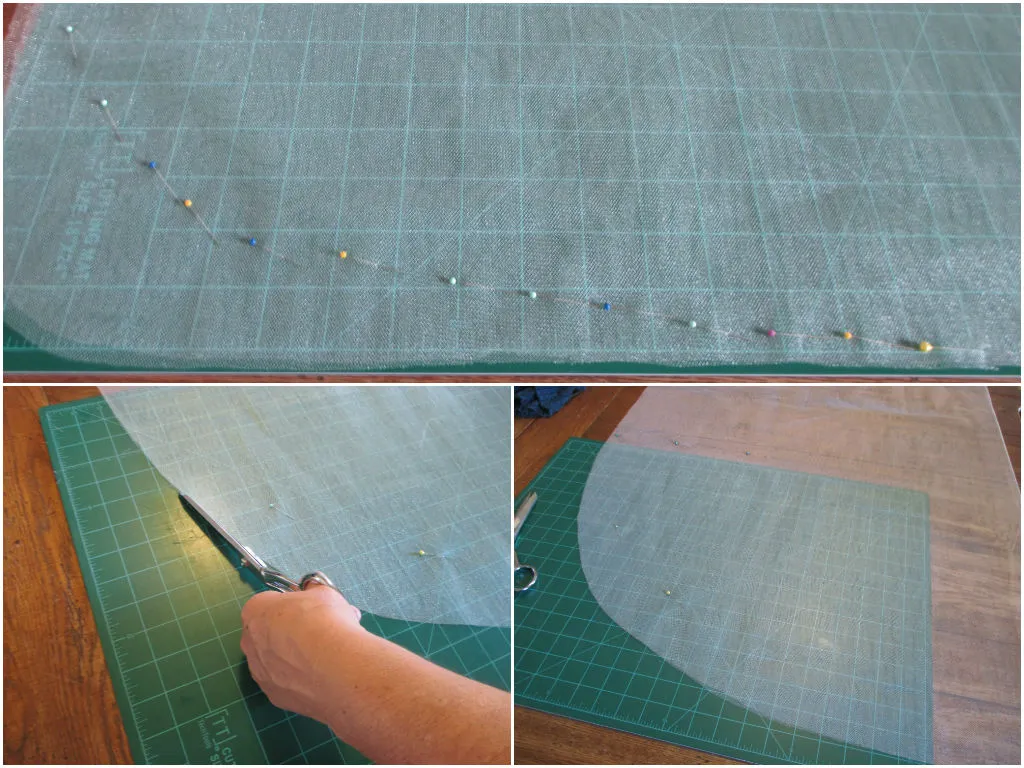
5. Find the bravery to make the cut!
I actually made my mom do it since she has a steadier hand. 😛 As you can see, we traced out a shape, but free-handed a bit until we liked it.
6. Trim any rough edges and make sure everything is even!
Time to bedazzle!
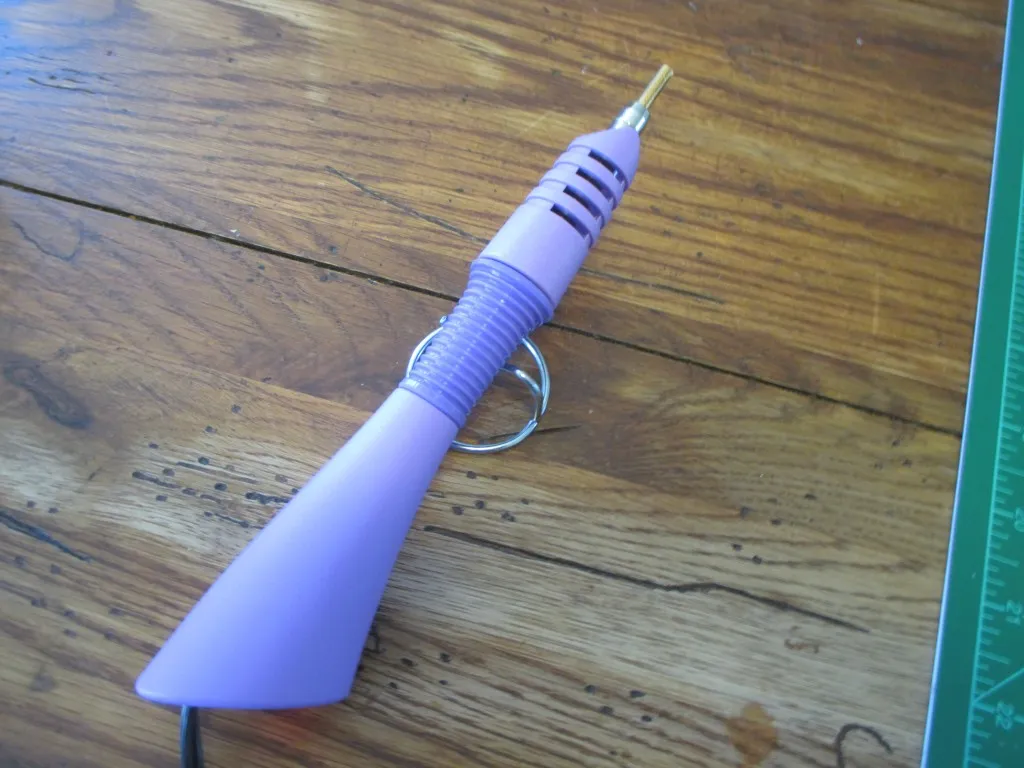
7. Heat hot-fix applicator.
If you don’t want to purchase the applicator, I think you could easily do this with a tough fabric glue. The plus-side of the hot-fix rhinestones is that they should be permanently affixed to the veil.
8. Lay out rhinestones on the tulle. The more random, the better!
I only used about 40 crystals. Because the top of the veil will be eventually gathered, you should put less rhinestones at the top and more on the bottom. The top of my veil is very blingy! 🙂
9. Follow the directions for applying the rhinestones.
*Unless you have a workspace you don’t mind getting dirty, I would lay something underneath the veil, because the glue tends to stick a bit. Carefully pull the rhinestone away from the surface. I got the teeniest hole in my veil from tugging too hard.*
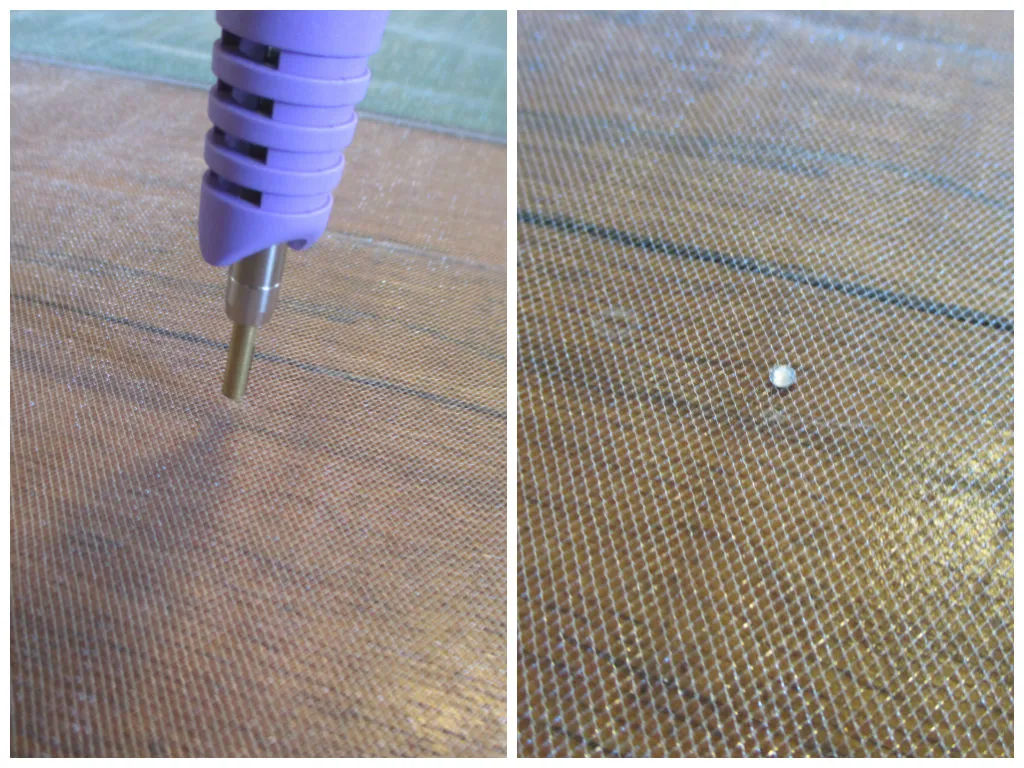
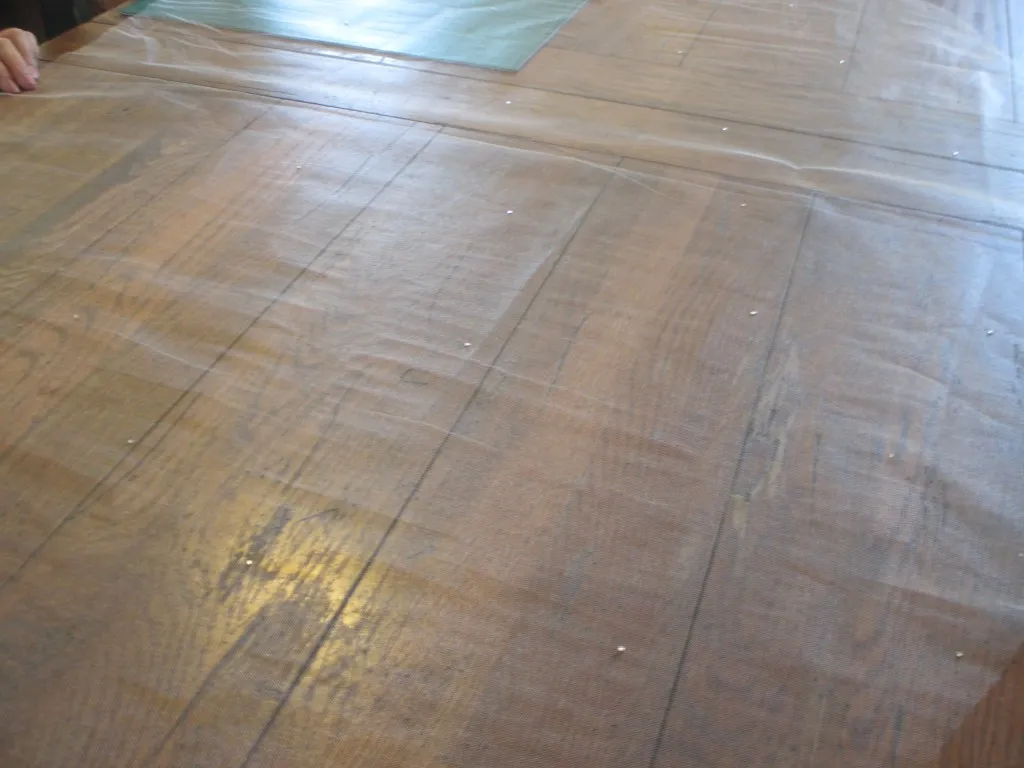
10. Stand back and admire your work! So sparkly!
ASSEMBLING YOUR DIY VEIL
Now, I have to be honest and say that this part of the process was a little more tedious and not as fun! However, it was great to see the finished product come together and I’m pretty proud of myself!
1. Mark out every half inch across the width of the tulle.
I just used a black marker, but I’m sure there are better ways to do it. Don’t worry about making it perfect. This will not be visible at the end.
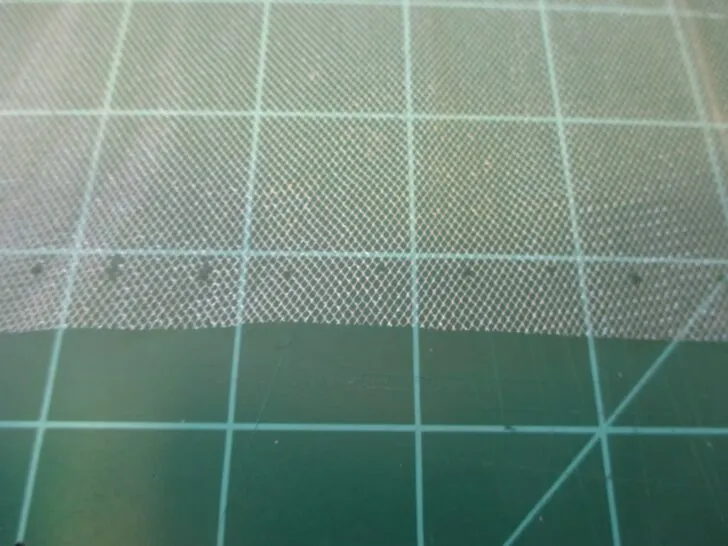
2. Thread a needle and go through the dots, going up one, down the other to gather the edge.
I hope this makes sense, but if not, there are great tutorials around the Internet. *Even knotted, the thread had a tendency to pull through. I ended up tying a tiny seed bead at both ends to keep the thread in place and it worked really well.*

3. Measure the length of your comb. Using this length, tie off your thread.
4. Scrunch until the gathers look nice and even.
Mine look totally uneven here, but I promise the veil turns out nice. 🙂
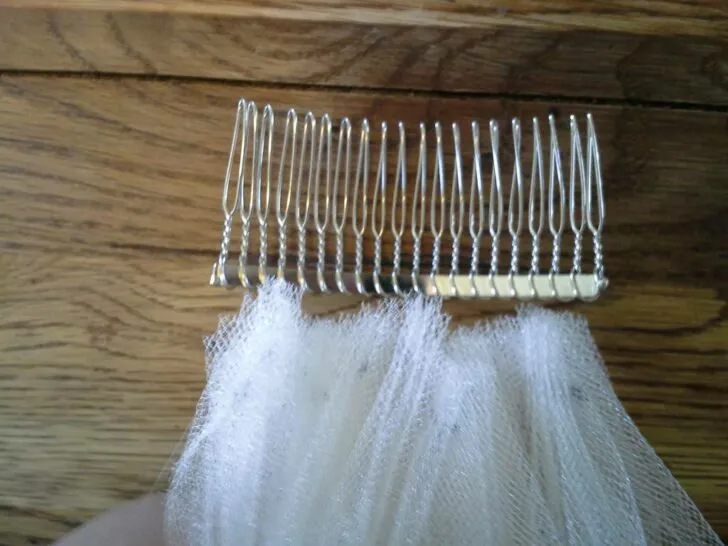
5. Place the front side of the comb to the back side of the veil.
This way the veil will cover the comb when placed in your hair.

6. Secure the sides of the veil to the ends of the comb.
I just used little clothespins, but I’m sure there are probably more sophisticated tools for this.
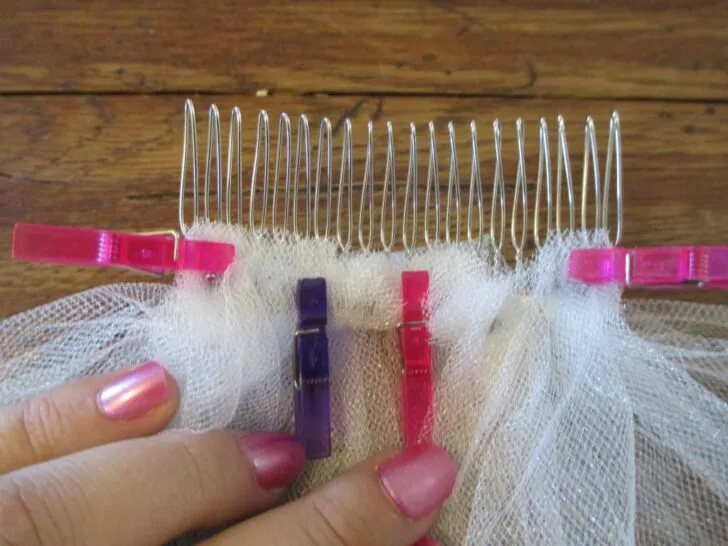
7. Going through the teeth of the comb, whip stitch the two pieces together.
I left about a half an inch of excess, this way your dots don’t show and its easier to work with.
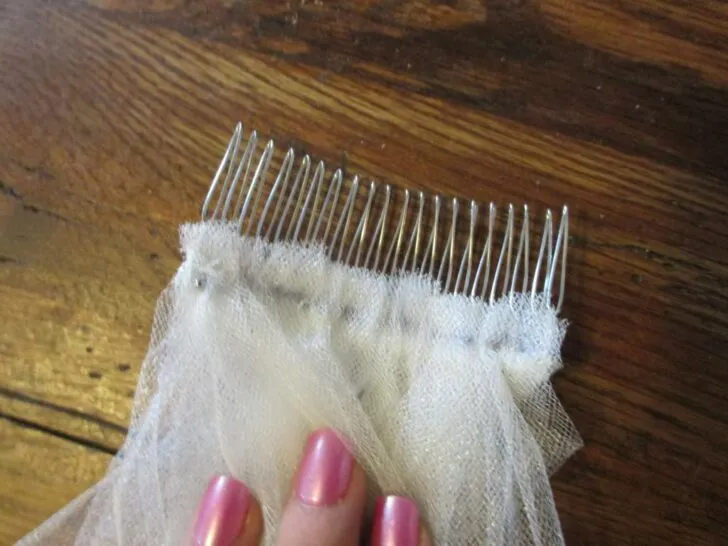
8. Trim off any loose threads, etc.
At this point, you could trim off the excess, but I decided to leave it just in case. I was worried trimming it might cause areas to come loose.
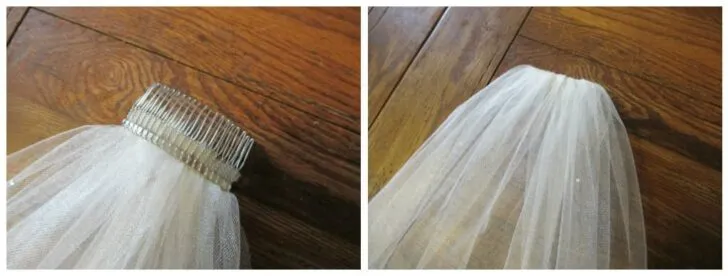
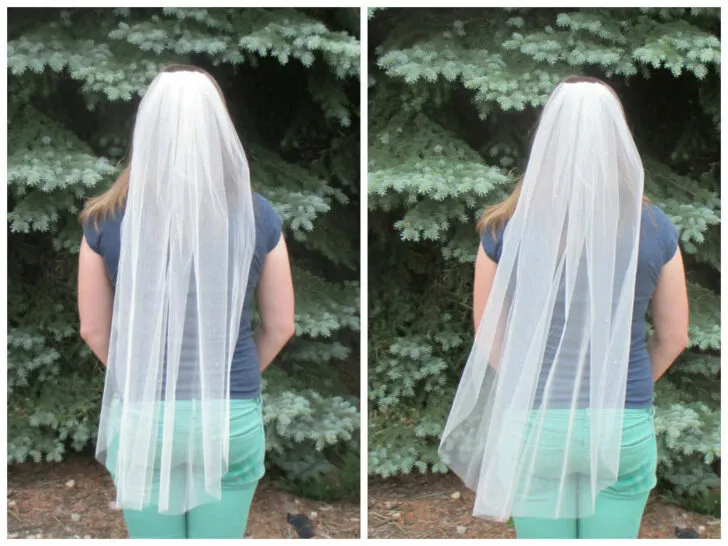
The finished product!
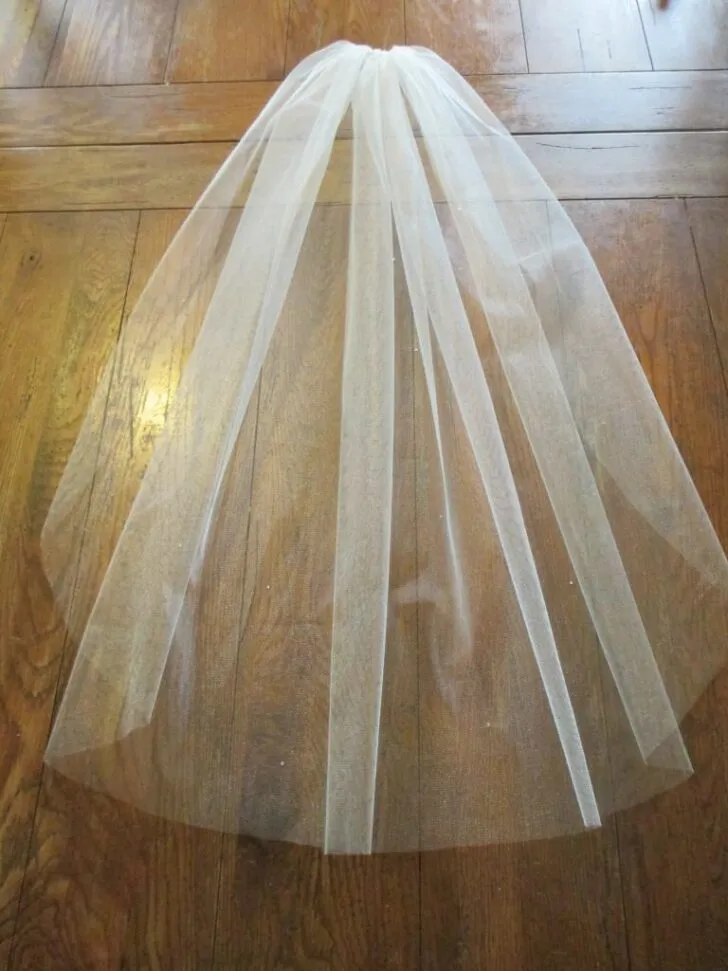
I hope this helps you feel confident in doing a DIY veil. It was actually pretty fun and satisfying to see something like this to come together! Plus it’s so inexpensive. It wasn’t too complicated and you get a great, inexpensive veil that you can treasure for a lifetime!
Additional Reading:
- Make Your Own Embroidered Bridal Denim Jacket!
- DIY Bridal Sash for Less than $20
- DIY Team Garter Tutorial
📌 Pin This! 📌
Related tags: